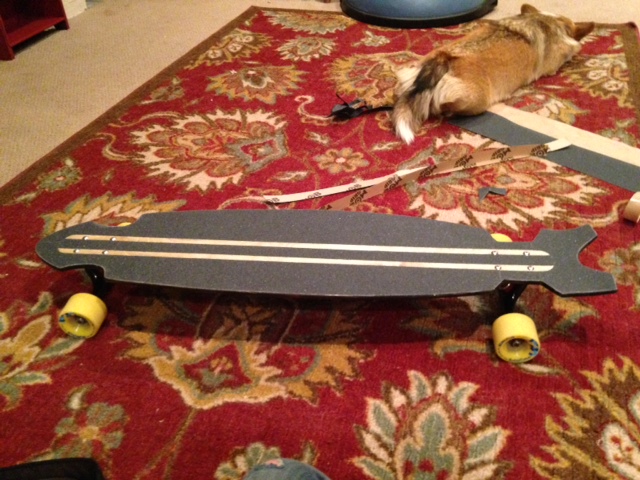
To make sure that you do not slip while riding, it is recommended that you put grip tape onto the top of the deck. I wanted to make the grip tape fit in with the design that I already created, so i used a razor blade to cut out the pieces that are my wood pinstripes. Make sure that when you put the grip tape on you press it flat so that you remove all the air bubbles that might be present. 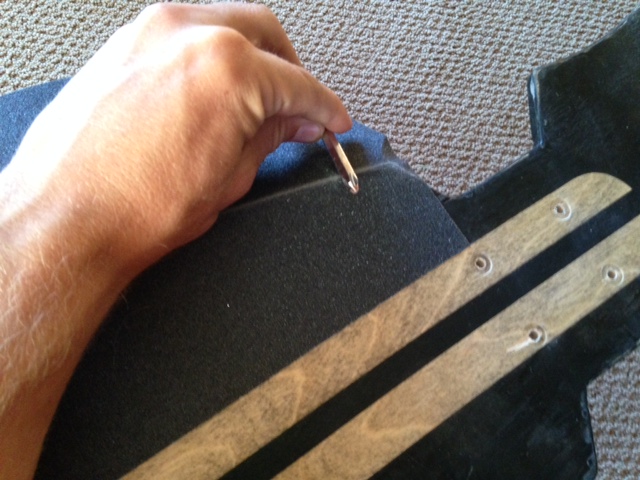
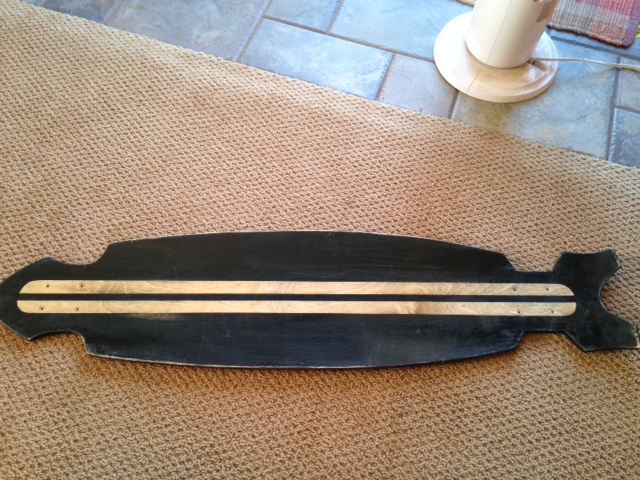
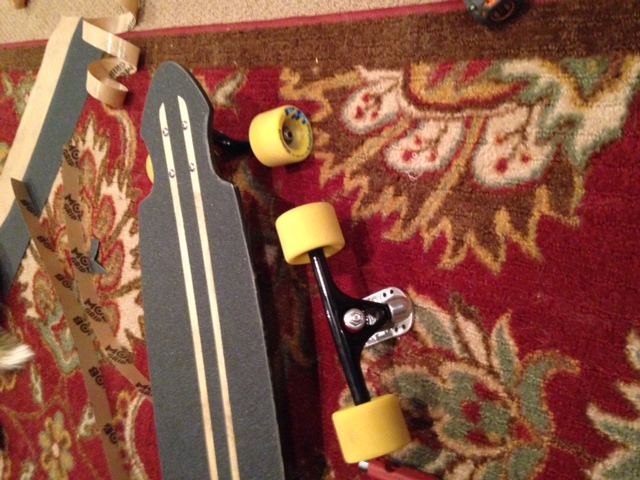
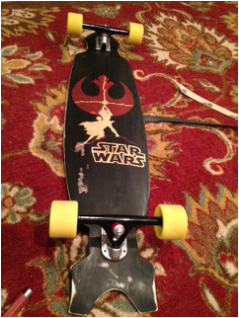
I got really excited and forgot to take pictures of my doing the actual cuts, however after about an hour of me laying the grip tape and cutting away this is what I ended up with. Personally I think it turned out pretty awesome. Now lets add some wheels and see what it looks like completed!! (fortunately I have a pair of wheels I can use from an old store bought board, I think I will re-purpose them). | We are down to the final stretch. By the end of this post you will see my fully completed board! Remember the pin stripes I talked about? Here they are! Staying with my distressed look I let the black bleed into the wood for an interesting detail. Also note the addition of drilled holes for the truck to attach to. I forgot to take pictures of my drilling. Whoops. 
While researching the best way to put on grip tape I came across this little tip in a video link from the Silverfish long boarding community. take a metal tool (I am using a screwdriver) and run it along the edges of the board. What this does is take away the grit and allows for easier time cutting away with your razor. 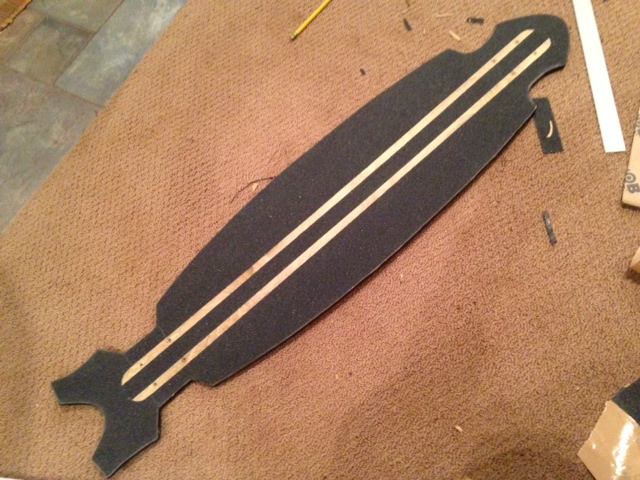
|
One down one to go.
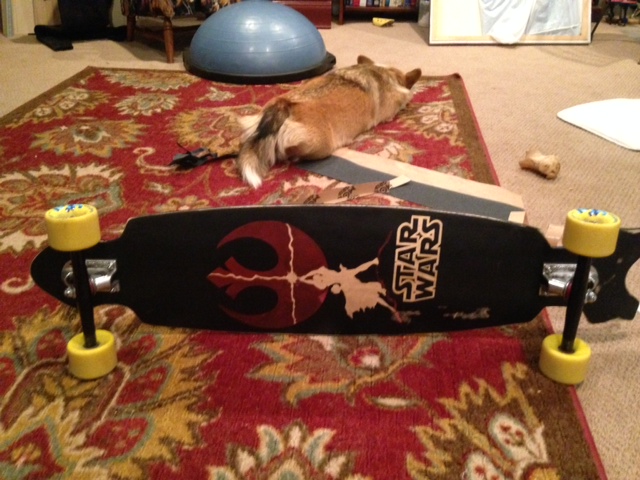
Awesome. (and yes that is my dog, Shoe)
| 
|
It has been a very fun project, and I can now say that I have made a skate board completely from scratch!
I have plans to continue developing blank decks and eventually be able to sell a few of my decks for some extra cash. Who knows maybe it will turn into a nice little side business.
I have plans to continue developing blank decks and eventually be able to sell a few of my decks for some extra cash. Who knows maybe it will turn into a nice little side business.
 RSS Feed