Just as an FYI.
I have been spending a lot of time on Silverfish Longboarding and visiting various forums for the help and assistance of my fellow longboarders on line. So as a disclaimer I have been following the advice of articles given to me through the advice of people online and using youtube videos to help aid in my learning and designing of the board press and process of cutting and shaping the deck.
I have been spending a lot of time on Silverfish Longboarding and visiting various forums for the help and assistance of my fellow longboarders on line. So as a disclaimer I have been following the advice of articles given to me through the advice of people online and using youtube videos to help aid in my learning and designing of the board press and process of cutting and shaping the deck.
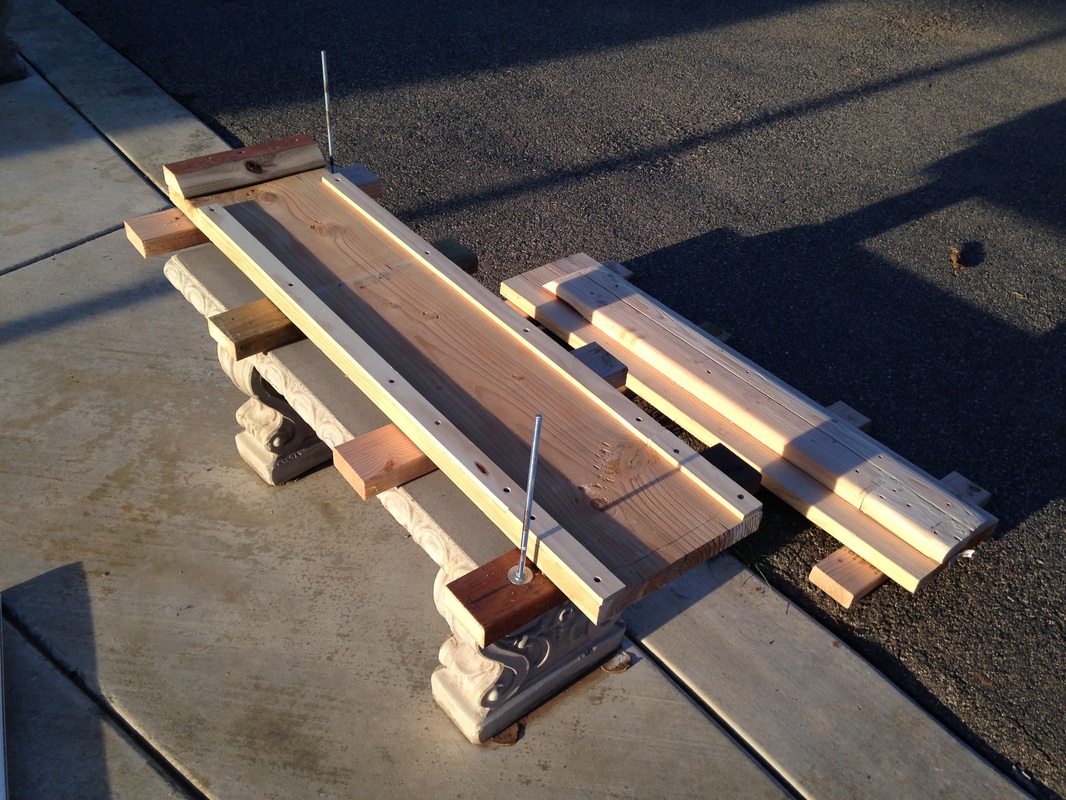
so this is my completed board press. I had pictures of the build process but lost them due to technology blunders.
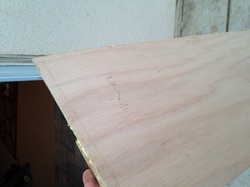
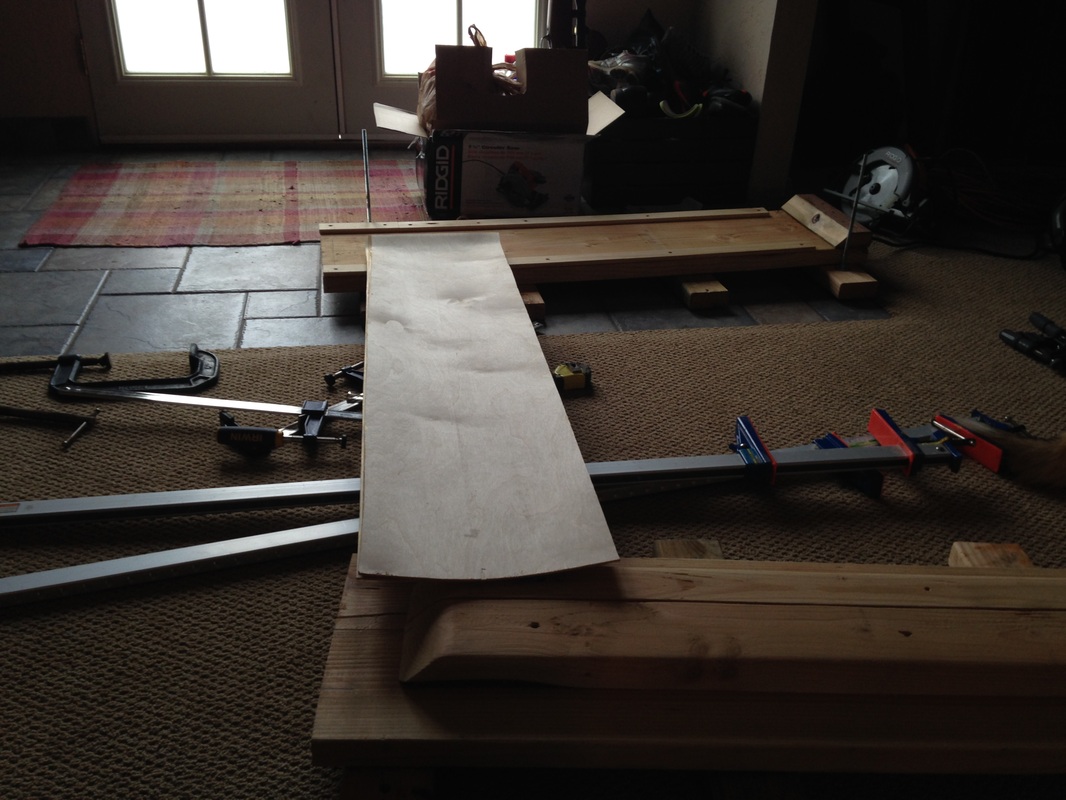
it is a bit hard to see clearly but this was the 1/4 in thick plywood. It was too stiff and did not mold itself properly and ended up cracking in the press.
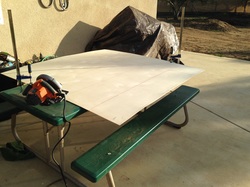
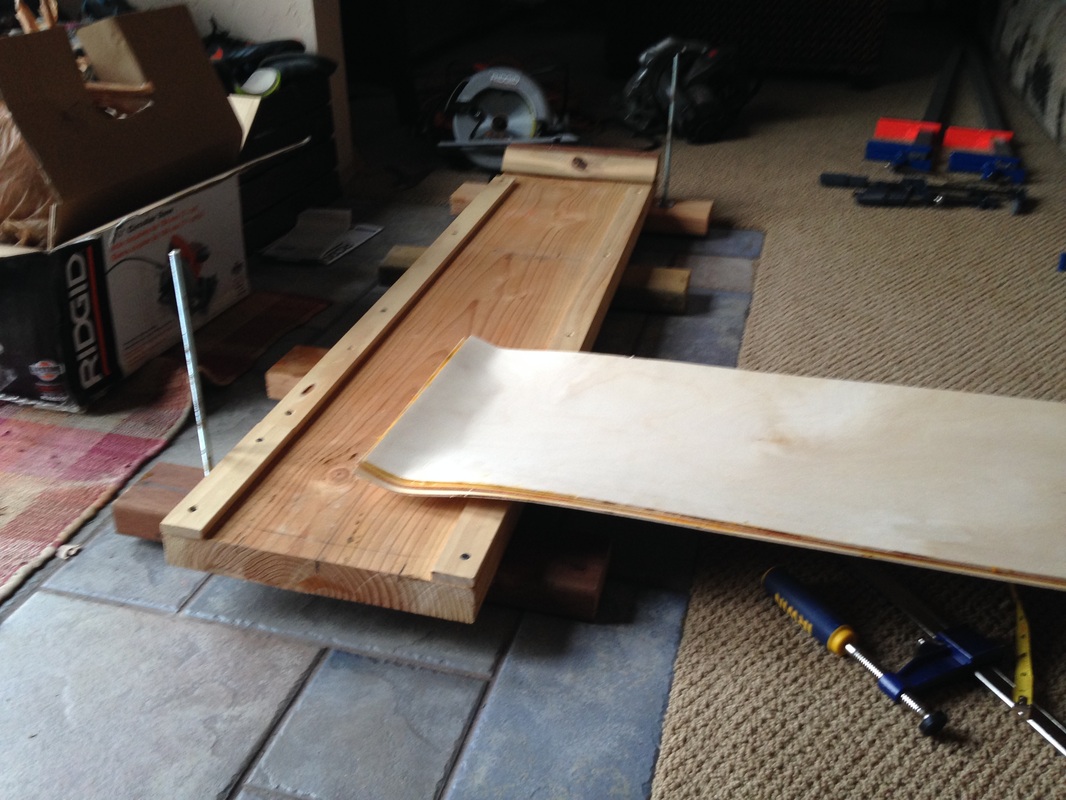
So to fix the problem I found 1/8th in. Baltic Birch wood. The thinness of the wood allows for much more flexibility inside of the press and I can make a 3 ply board vs. a 2 ply board with 1/4 in. and still retain the same amount of strength. This board came in a 5x5 sheet that I cut with a circular saw into foot long strips. I also found out that I need to acknowledge that the wood has a certain grain cross grain to the cut will be flexible across the middle of the board allowing for more ease in the kick tail and length wise grain will be more flexible running the length of the board giving a better flex along the concave.
(as a note on the broken board above and my actual board below you can see that that board has the grain running length wise which is ideal for weight supporting strength and allows for a good concave bend to stand on. If I ran the grain 90 degrees to what is shown above that would be ideal for giving flexibility to a kick tail bend)
(as a note on the broken board above and my actual board below you can see that that board has the grain running length wise which is ideal for weight supporting strength and allows for a good concave bend to stand on. If I ran the grain 90 degrees to what is shown above that would be ideal for giving flexibility to a kick tail bend)
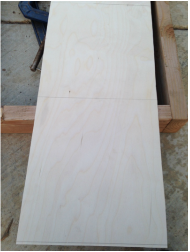
This is my cut 1/8 in board. the grain is running length wise. My board will have 2 ply with grain running length wise, with 1 board with grain running width wise sandwiched in between. I have done this in order to give the board flexibility in multiple directions both front to back and side to side.
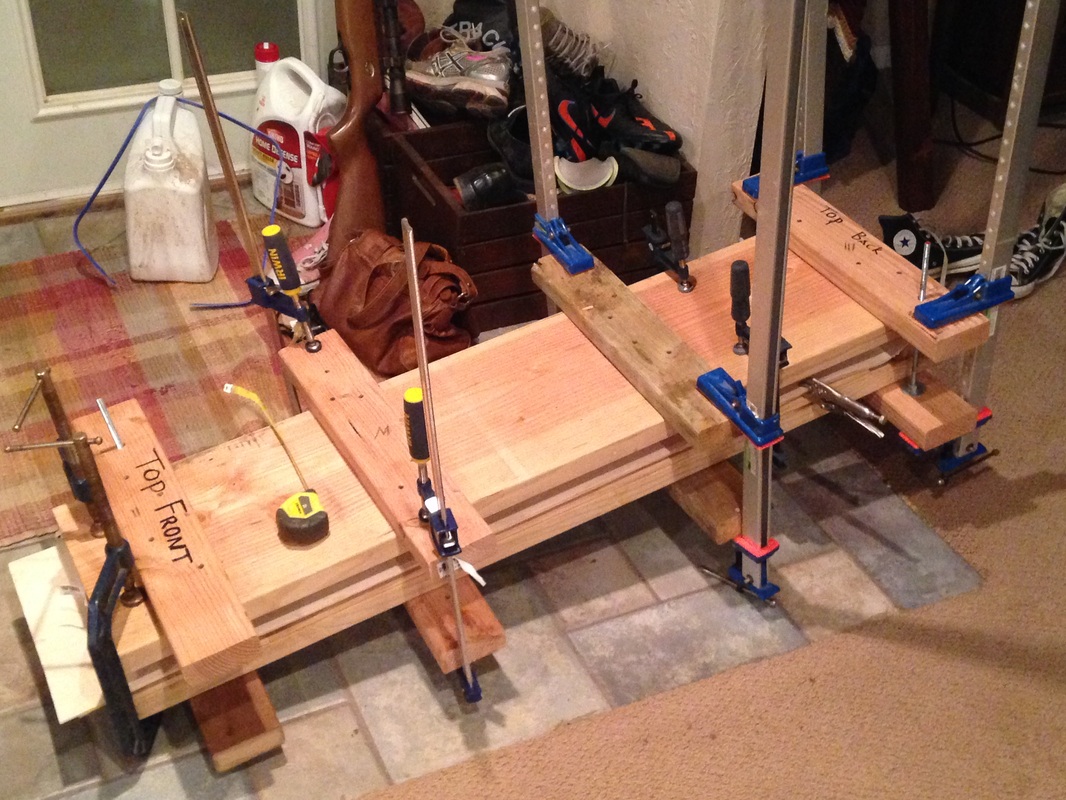
This is what it looks like to have my ply wood clamped into the press.
 |  |
When the wood comes out of the press (24 hrs later) you should have a board with a nice concave (Left image) and a kick tail bend (right image). You can also see from the image on the right the dried glue that is holding the boards together and also keeps the integrity of the bends.
Now I got really excited here and forgot to take picture (too wrapped up in my work). But I created a design template for the skateboard deck traced it out onto my boards and cut it out using a jigsaw.
Then I used a drum sander to smooth out the edges and give the Prototype board its final shape.
Now I got really excited here and forgot to take picture (too wrapped up in my work). But I created a design template for the skateboard deck traced it out onto my boards and cut it out using a jigsaw.
Then I used a drum sander to smooth out the edges and give the Prototype board its final shape.
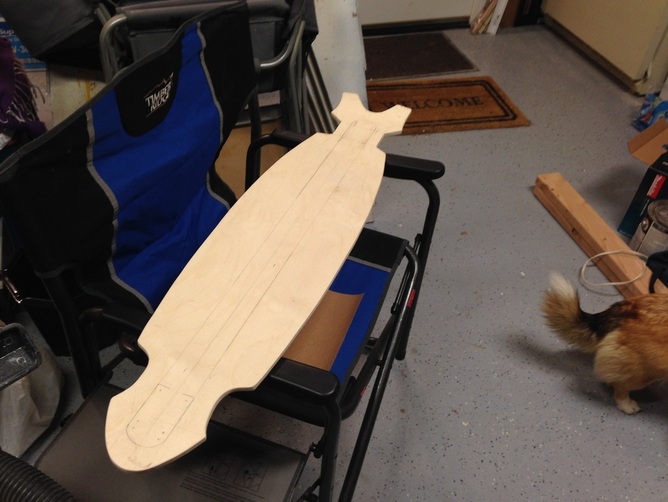
Please note that the pencil lines on the board are for centering purposes and for correct alignment of the trucks (wheels). I did some fine tune sanding by hand to give the board a finished feel.
Future work to be done and learn:
1. Create a design for the underside of the board.
2. Drill holes for the bolts to fit that will hold the trucks on to the board.
3. Learn to Fiberglass. Fiberglassing the bottom of the board will give strength without adding too much extra weight and not sacrifice the boards flexibility.
4. Add a Poly to the top of the deck to seal it from the elements.
5. Apply grip tape to the top of the Deck.
6. Redo entire process to make new boards to sell on amazon.
 RSS Feed